This chapter explains how to use Console Manager to administer the nodes that it controls.
The main Console Manager GUI, described in Chapter 3 of this manual, allows you to power down, power up, reset a node, generate a non-maskable interrupt (NMI), and change the properties of a node, view system logs for a specific node in a site, or connect to, spy, or steal the system console for a specific node. This chapter describes how you can use the Console Manager GUI to perform these administrative actions.
This chapter contains the following sections:
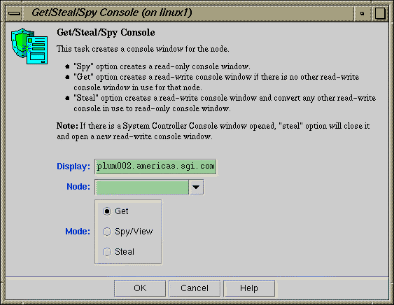
This task creates a console window for the node as follows:
The Get option creates a read-write console window if there is no other read-write console in use for that node.
The Steal option creates a read-write console window and converts any other read-write console in use to a read-only window.

Note: If there is a System Controller Console window opened, the Steal option will close it and open a new read-write console window.
The Spy option creates a read-only console window.
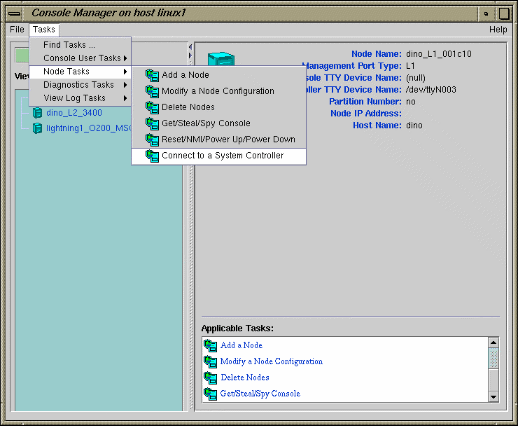
From the Tasks pulldown menu, choose the following, as shown in Figure 3-1.
The Get/Steal/Spy Console dialog box appears, as shown in Figure 4-1.Node Tasks -> Get/Steal/Spy Console
In the Display field, type the name of you system where the console window should be displayed.
In the Node field, using the pull-down tab select the name of the server for which you want to get, steal, or spy the system console.
In the Mode field, select the Get, Spy, or Steal button.
Click the OK button.
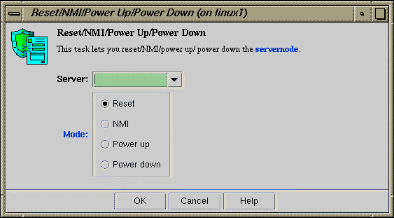
This task allows you to power down, power up, reset a node, or send a nonmaskable interrupt to a node.
To power down, power up, reset, or send a nonmaskable interrupt (NMI) to a node, follow these steps:
From the Tasks pulldown menu, choose the following:
The Reset/NMI/Power Up/Power Down dialog box appears, as shown in Figure 4-2.Node Tasks -> Reset/ NMI/ Power Up/ Power Down
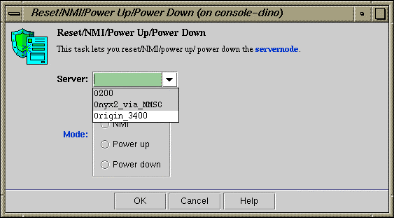
From the Server field pulldown tab, select the node to which you want to perform the operation, as shown in Figure 4-3.
Click the button to the left of the operation you wish to perform.
Click the OK button.
This task lets you open a connection to the system controller of a node as follows:
The Get option will succeed only if there are no other System Controllers or node Console windows open.
The Steal option will forcefully close all other Console windows on the node and open a new System Controller Console window.
From the Tasks pulldown menu, choose the following, as shown in Figure 4-4.
Node Tasks -> Connect to a System Controller
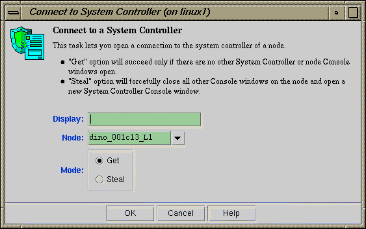
The Connect to a System Controller dialog box appears, as shown in Figure 4-5.
In the Display field, type in your display hostname as follows:
hostname.mycompany.com:0
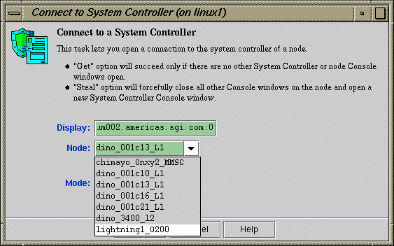
From the Node field pulldown tab, choose the name of the node for which you want the system controller, as shown in Figure 4-6.
In the Mode field click the Get or Steal button.
Click the OK button.
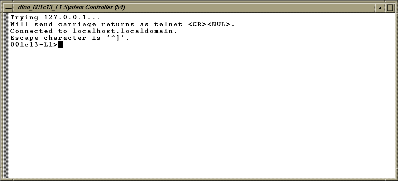
A System Controller Console appears, as shown in Figure 4-7.
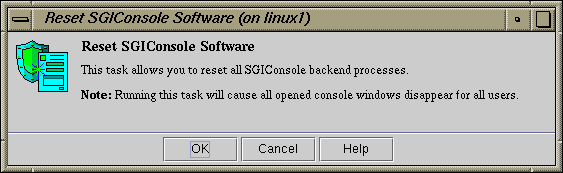
This tasks allows you to restart the Console Manager (nexxus) daemon. Running this task will cause all opened console windows to disappear for all users.
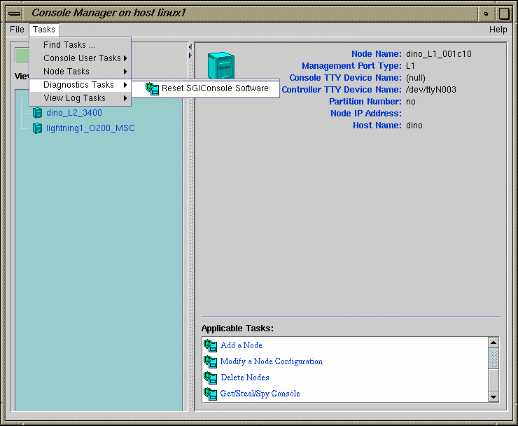
From the Tasks pulldown menu, choose the following, as shown in Figure 4-8.
Diagnostics Tasks -> Reset Console Backend Software
The Reset SGIconsole Software dialog box appears, as shown in Figure 4-9.
Click the OK button.
This task allows you to view system logs (syslog) of the servers and system controller logs of the servers.
| Note: Console users can get only the system console or the system controller console for any node at one time. |
| Note: For SGI Origin 2000 rackmount servers (servers that use the multimodule System Controller (MMSC)), the system controller logs from the module System Controllers (MSCs) in rack 1 (both upper and lower bays) are displayed. |
To get the system log or system controller logs for a server, follow these steps:
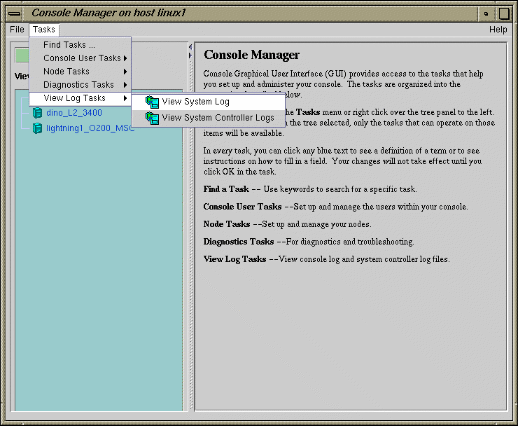
From the Tasks pulldown menu, choose View Log Tasks, as shown in Figure 4-10.
Choose View System Log or View System Controller Logs.
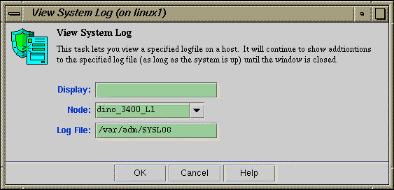
The View System Log Dialog Box (or View System Controller Logs Dialog Box) appears, as shown in Figure 4-11.
In the Display field, type in your display hostname as follows:
hostname.mycompany.com:0
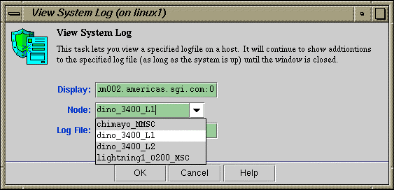
From the Server field pulldown tab, choose the name of the node for which you want the system log, as shown in Figure 4-12.
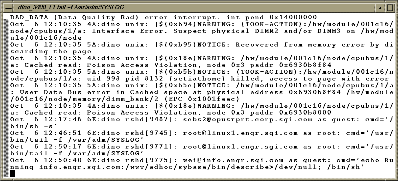
The system log window appears, as shown in Figure 4-13.
Note: If the log screen does not appear, make sure that you enter your complete display name as shown in Procedure 4-5.