This chapter shows you how to configure the DCD.
The following topics are covered:
When the X server starts, it checks the user-defined display setting to ensure that it is valid for the current hardware configuration. If a display setting is not specified or if it is invalid, the X server automatically selects the default setting. If you do not want to use the default setting, follow these steps:
 | Note: Make sure that both of the monitors that are connected to a single DCD have the same or similar display capabilities. |
Open a UNIX shell.
-
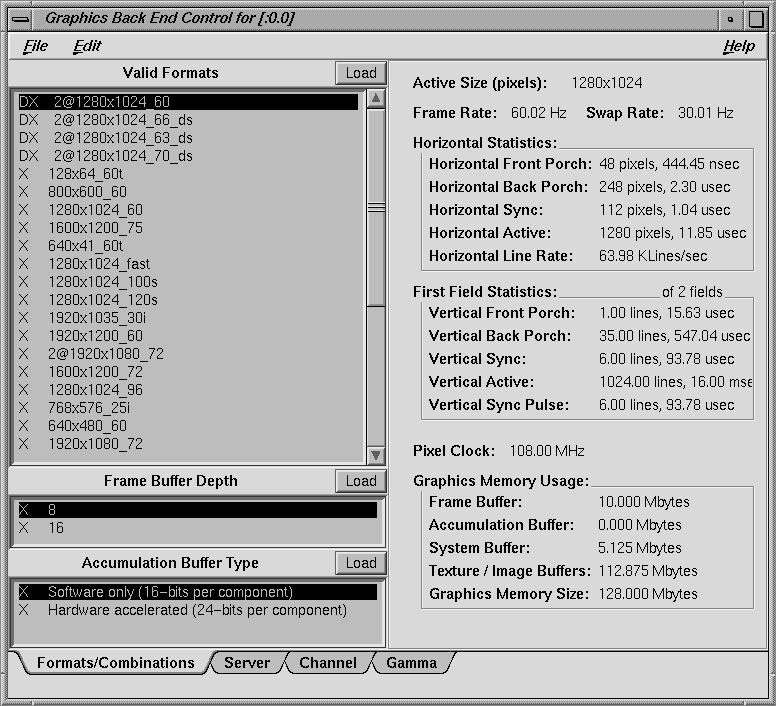
The Graphics Back End Control window appears, as shown in the example in Figure 4-1.
To enable dual channel mode, select a DCD setting from the Valid Formats field. To disable dual channel mode, select a single channel display setting from the Valid Formats field.
Click the Load button next to the Valid Formats title bar.
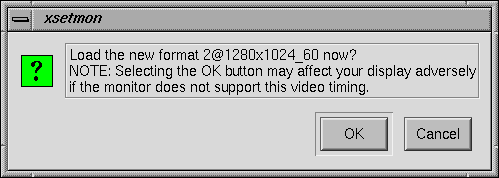
If your display setting has the character D in the first column, a confirmation dialog box will appear, as shown in the example in Figure 4-2.
Note: If you select a display setting that does not show the character D in the first column, you must log out, and then log in again to activate the settings, as explained later in step 6. Click the OK button to confirm your display setting.
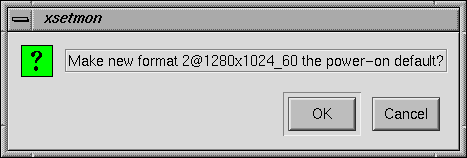
Another dialog box will appear that asks if you want to use this display setting as the power-on default, as shown in the example in Figure 4-3.
Click the OK button to use the new display setting as the power-on default, or click the Cancel button to retain the current power-on default.
If you click the OK button, the new display setting is immediately activated.
Select the desired frame buffer depth in the Graphics Back End Control window (see Figure 3-1), and then click the Load button.
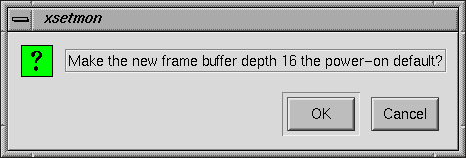
A dialog box appears that asks if you want to use this frame buffer depth as the power-on default, as shown in the example in Figure 4-4.
Click the OK button to use this frame buffer depth as the power-on default, or click the Cancel button to retain the current default.
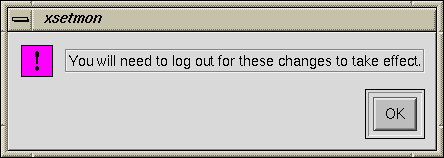
If you click the OK button, another dialog box appears that says you must log out for the new settings to take effect, as shown in Figure 4-5.
Click the OK button in the dialog box.
Select the desired Accumulation Buffer Type in the Graphics Back End Control Window (see Figure 4-1), and then click the Load button.
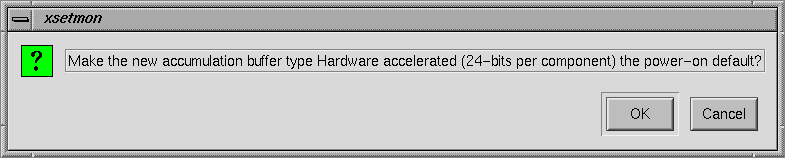
A dialog box appears that asks if you want to use this accumulation buffer type as the power-on default, as shown in the example in Figure 4-6.
Click the OK button to use this accumulation buffer type as the power-on default, or click the Cancel button to retain the current default.
If you click the OK button, a dialog box appears that says you must log out for the new settings to take effect, as shown earlier in Figure 4-5.
Click the OK button in the dialog box.
Exit xsetmon and close all active applications.
Log out and then log in again to activate your new settings.
Because the DCD provides a large logical display (for example, 2560 x 1024), some applications use all the available space and display a single window across both of your monitors. If this happens, you can specify the maximum size of a window as follows:
As root, use an editor such as NEdit to open the file /usr/lib/X11/app-defaults/4DWm.
Under 4Dwm Specific Appearance and Behavior Resources, enter the following:
*maximumMaximumSize: 1280x984
This constrains the maximum window size to 1280 x 1024. The 40-pixel vertical difference is for the title bar and the top and bottom window borders.
Save the file and exit the editor.
Restart Window Manager by logging out and logging back in, or by selecting Toolchest > System > Utilities > Restart Window Manager and clicking OK.
The above procedure limits the size of a maximized window, but the entire window may not appear on one of your monitors. To display the window on one of your monitors, click the Maximize button, and then move the window to the desired monitor.
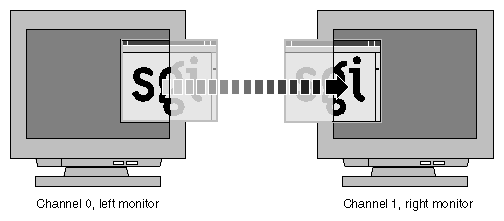
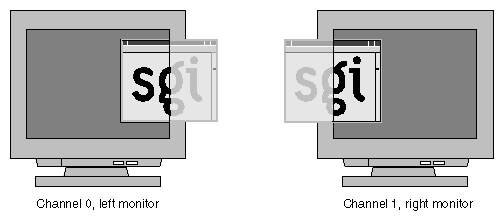
The DCD displays a single logical screen across two monitors. Most applications position their popup windows near their main window, or near the cursor. However, some applications center their popup windows. When such applications are in dual channel mode, one half of the window appears on one monitor, and the other half of the window appears on the other monitor, as shown in Figure 4-7.
To work around this, modify the application's resources, as follows:
To launch an application in a specific location, add the -geometry option to the command line. For example, the following command opens a window with the upper left-hand corner of the window 30 pixels from the left of the screen and 200 pixels from the top of the screen.
xterm -geometry +30+200
If you are using a resolution of 1280 x 1024 and you want to place a window on the second display, add 1280 to the first number. For example:
xterm -geometry +1310+200
You can also set this X resource in $HOME/.Xdefaults. For example, the following command forces all XWsh windows to open with the upper left-hand corner of the window 30 pixels from the left of the screen and 200 pixels from the top of the screen.
XWsh*geometry: +30+200
XWsh is the application's Classname.
In addition, you can use the Window Setting control panel to set specific window locations or to specify the window's last (continuous) position before you log out. To do this, choose Toolchest > Desktop > Customize > Windows.
When you move a window from one monitor to the other, the window follows the cursor as it jumps between screens. However, as it moves across, a section of the window is clipped. For example, as you move a window from the left monitor to the right monitor, the right edge of the window is clipped to the left edge of the right monitor, as shown in Figure 4-8.