This chapter gives a brief introduction to Microsoft Windows, and explains the main components of the Windows User Interface.
It describes how to set up Windows and how to install and use Windows applications. It also describes how to install printer drivers, keyboard drivers, and fonts.
SoftWindows comes pre-installed with Microsoft Windows 3.11 and MS-DOS 6.22.
For more information about using Microsoft Windows, we recommend the following books:
"Microsoft Windows User's Guide."
"Windows for Dummies" by Andy Rathbone, from IDG Books.
Windows 3.11 is a graphical user interface for PCs. It gives you an easier way of moving around the MS–DOS structure of files and directories and provides some extra facilities for managing the system.
If you are familiar with running applications in Motif, you should not experience too much trouble using Windows. Many of the techniques of using the mouse and resizing and moving windows are almost identical in both systems.
Before using Windows you may find it helpful to read about MS-DOS; refer to Chapter 7, “Using MS–DOS”.
The following gives a brief description of the most important components of Windows.
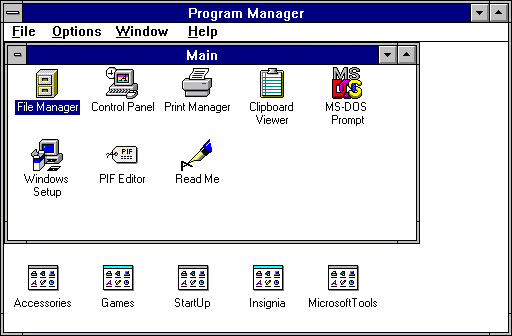
Program Manager is always active when you are working with Windows. You can use Program Manager to start other applications and organize applications into logical groups.
MS–DOS Prompt lets you switch to MS–DOS and keep your Windows session running.
Minimize button reduces the window to an icon on the desktop.
Maximize button enlarges the window to fill the entire desktop.
A group icon is a minimized group window, containing icons representing Windows applications. Group icons are usually located along the lower edge of the Program Manager window.
The applications in the Control Panel allow you to change the configuration of Windows. Any changes you make are stored in the Windows initialization file WIN.INI.
Print Manager allows you to define default printers, connect to printers on a network, change the configurations of printers, and manage the active printing of files.
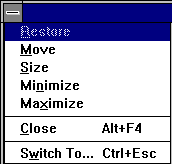
Control menu box provides commands to manipulate or close the window.
File Manager is a tool for managing files and directories in a graphical fashion. You can use File Manager to view all your files and directories, and copy, move, delete, and rename files.
Clipboard Viewer allows you to look at the contents of the Windows clipboard.




Most Windows applications are installed using the standard Windows setup procedure. If your Windows application is supplied on 3.5-inch disks, you can install using your workstation's floppy disk drive.
Insert the application's installation floppy disk into the workstation's floppy disk drive.
Attach the disk by choosing Attach Floppy A or Attach Floppy B from the Actions menu, depending on whether you have assigned drive A: or B: to the floppy disk drive.
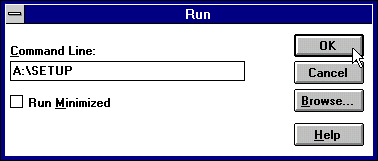
Choose Run… from the Program Manager File menu.
Follow the application's installation instructions. For example, you may be instructed to type A:SETUP.
Click OK to start the installation.
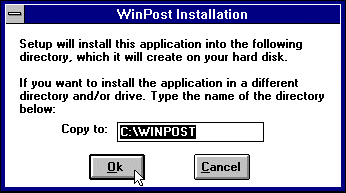
As the installation proceeds, dialog boxes similar to the one shown below will prompt you for information needed for the installation.
If you need to eject a floppy disk, either press the eject button on the floppy disk drive, or choose Eject Floppy A: or Eject Floppy B: from the Actions menu, depending on your workstation.
 | Note: If you encounter problems when installing Windows applications, such as Windows files not being found, this may be due to Windows being set up as a network style installation. For further details on Windows configurations, refer to the SoftWindows for Unix Administrator's Guide, or contact your system administrator. |
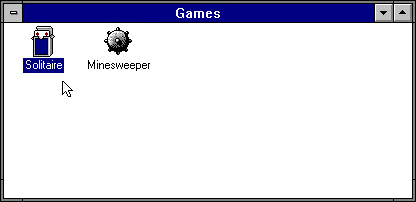
Double-click the application icon in the appropriate program group.
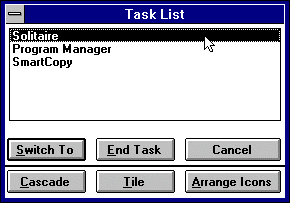
For example, to run Solitaire, supplied with Windows, proceed as follows:

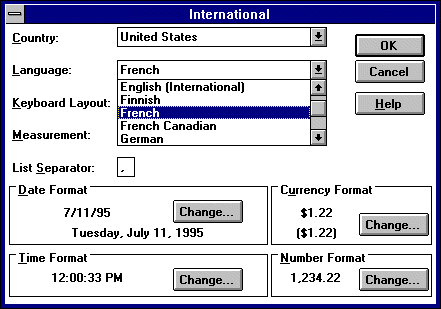
SoftWindows is supplied with a selection of printer drivers and all the standard Windows fonts already installed. It is also set up to use a US, UK, French, or German keyboard as selected during installation.
This section describes how to use the Windows Control Panel to select a different printer driver, install additional printer drivers or fonts, or change the keyboard layout.
Double-click Printers in the Control Panel window.
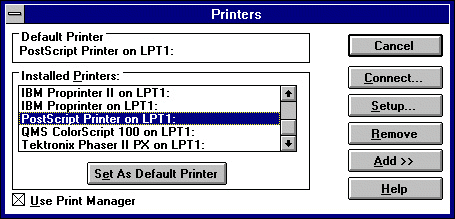
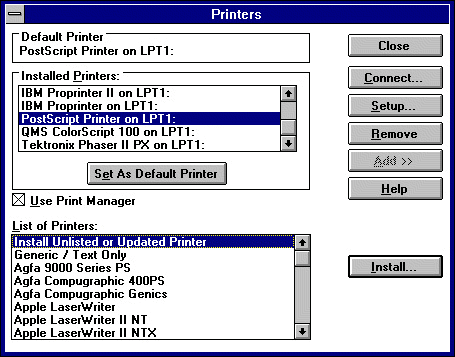
The Printers dialog box will be displayed, showing the currently selected default printer and the list of installed printers.
Choose the printer you want to use in the Installed Printers list, and choose Set As Default Printer.
SoftWindows is supplied with several printer drivers that you can install.
If the printer you want to use is not installed, choose Add>> to show a list of the available printer drivers.
Select the printer driver you want to add and choose Install….
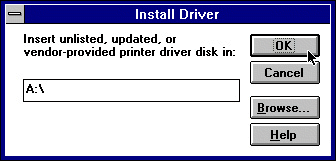
If the printer you want is not listed, select Install Unlisted or Updated Printer and choose Install…. This dialog box is displayed to allow you to locate the printer driver:
Insert the floppy disk containing the printer driver and choose OK.
Choose Close to close the Printers dialog box.


Double-click Fonts in the Control Panel window:
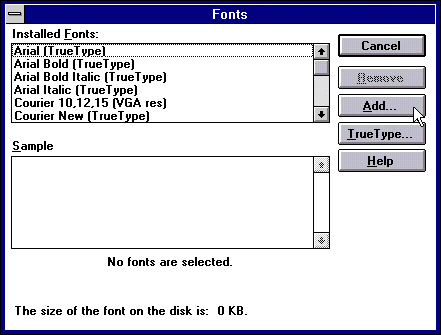
The Fonts dialog box will show a list of the fonts installed for use by Windows.
Choose Add… to install additional fonts.
The Add Fonts dialog box appears.
Open the Drives list, and select the G: drive.
The List of Fonts box shows the available fonts.
Select the fonts you want to add, and choose OK.
Choose Close to exit from the Fonts dialog box.